Pipe Organ Status Display
When playing the pipe organ, you must choose which pipes to associate with each manual. These settings are called “registrations”. It is very common for a single piece to have many different registrations as it progresses. On some organs, you can set up these registrations beforehand and save them in memory, to be recalled quickly as you play. The purpose of this project was to give myself a very easy-to-see display of the current memory settings, as well as other status information, while practicing on my home organ setup. This project gave me an opportunity not only to write code, but to also design my own circuit board and enclosure.
Software
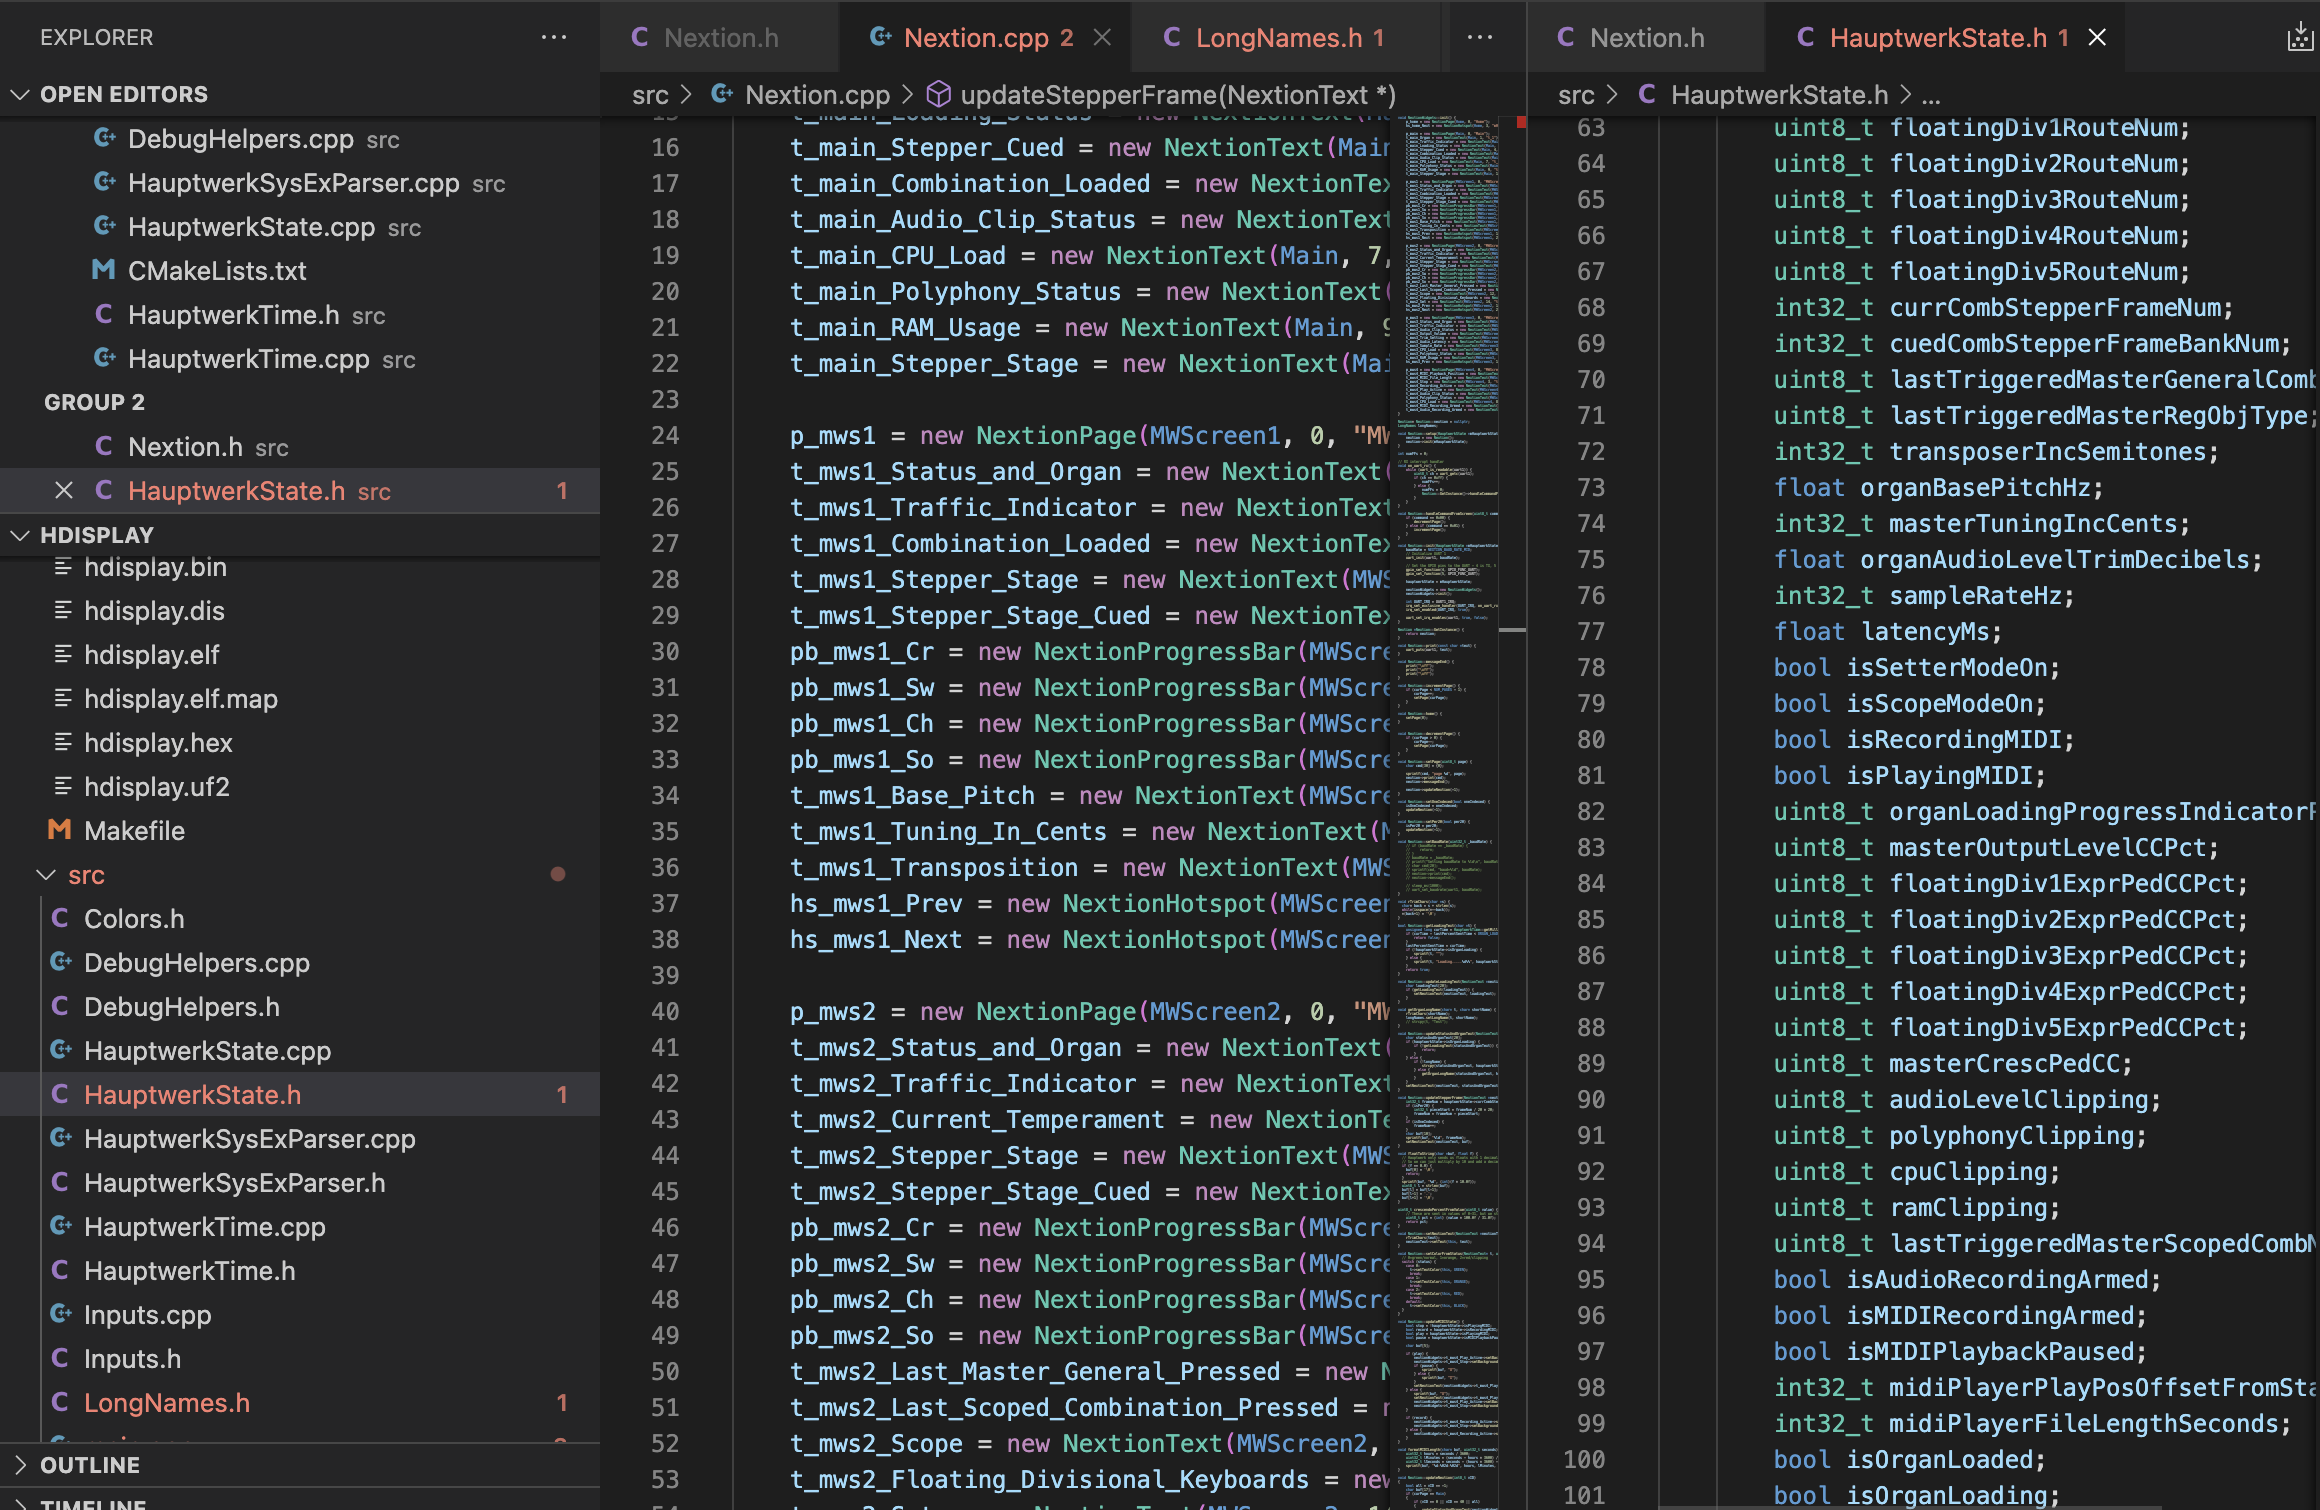
I wrote the software for this project in C++, using a Raspberry Pi Pico microcontroller. When I play the organ at home, I use software called Hauptwerk. Conveniently, the user’s guide for Hauptwerk provides a detailed description of optional MIDI system-exclusive messages that can be sent to communicate status information, and the formats these communications will use. With the Pi Pico functioning as a MIDI device, I can receive these system-exclusive messages and parse them to understand their meaning before deciding what I’d like to do with the information. I can receive information about registration memory levels, current organ sample set, polyphony status, CPU status, RAM status, tuning method, and many other details. I can then store and communicate any of these values over a serial connection to a Nextion screen. I can read inputs from buttons and switches for user interaction and general settings, and define the behavior however I want.
The visual layout shown above is a relatively clean, simplistic screen, but has all of the information I like to see on a regular basis in a very easy-to-read format. There are multiple pages with various layouts that I’ve implemented, and many more are possible.
There are some limitations and quirks about the data sent by Hauptwerk. A couple fun examples:
Signed integers are communicated as 28-bit values (written in the least-significant 7-bits of consecutive communicated bytes). Bit manipulation was necessary to interpret the data as I needed it.
Strings are communicated with max-length of 16. While this is often enough, there are some values such as organ names that can easily be longer than this. Since I can do whatever I want with the parsed information, I can add my own translations to the values I receive to communicate exactly how I’d like on my display.
PCB
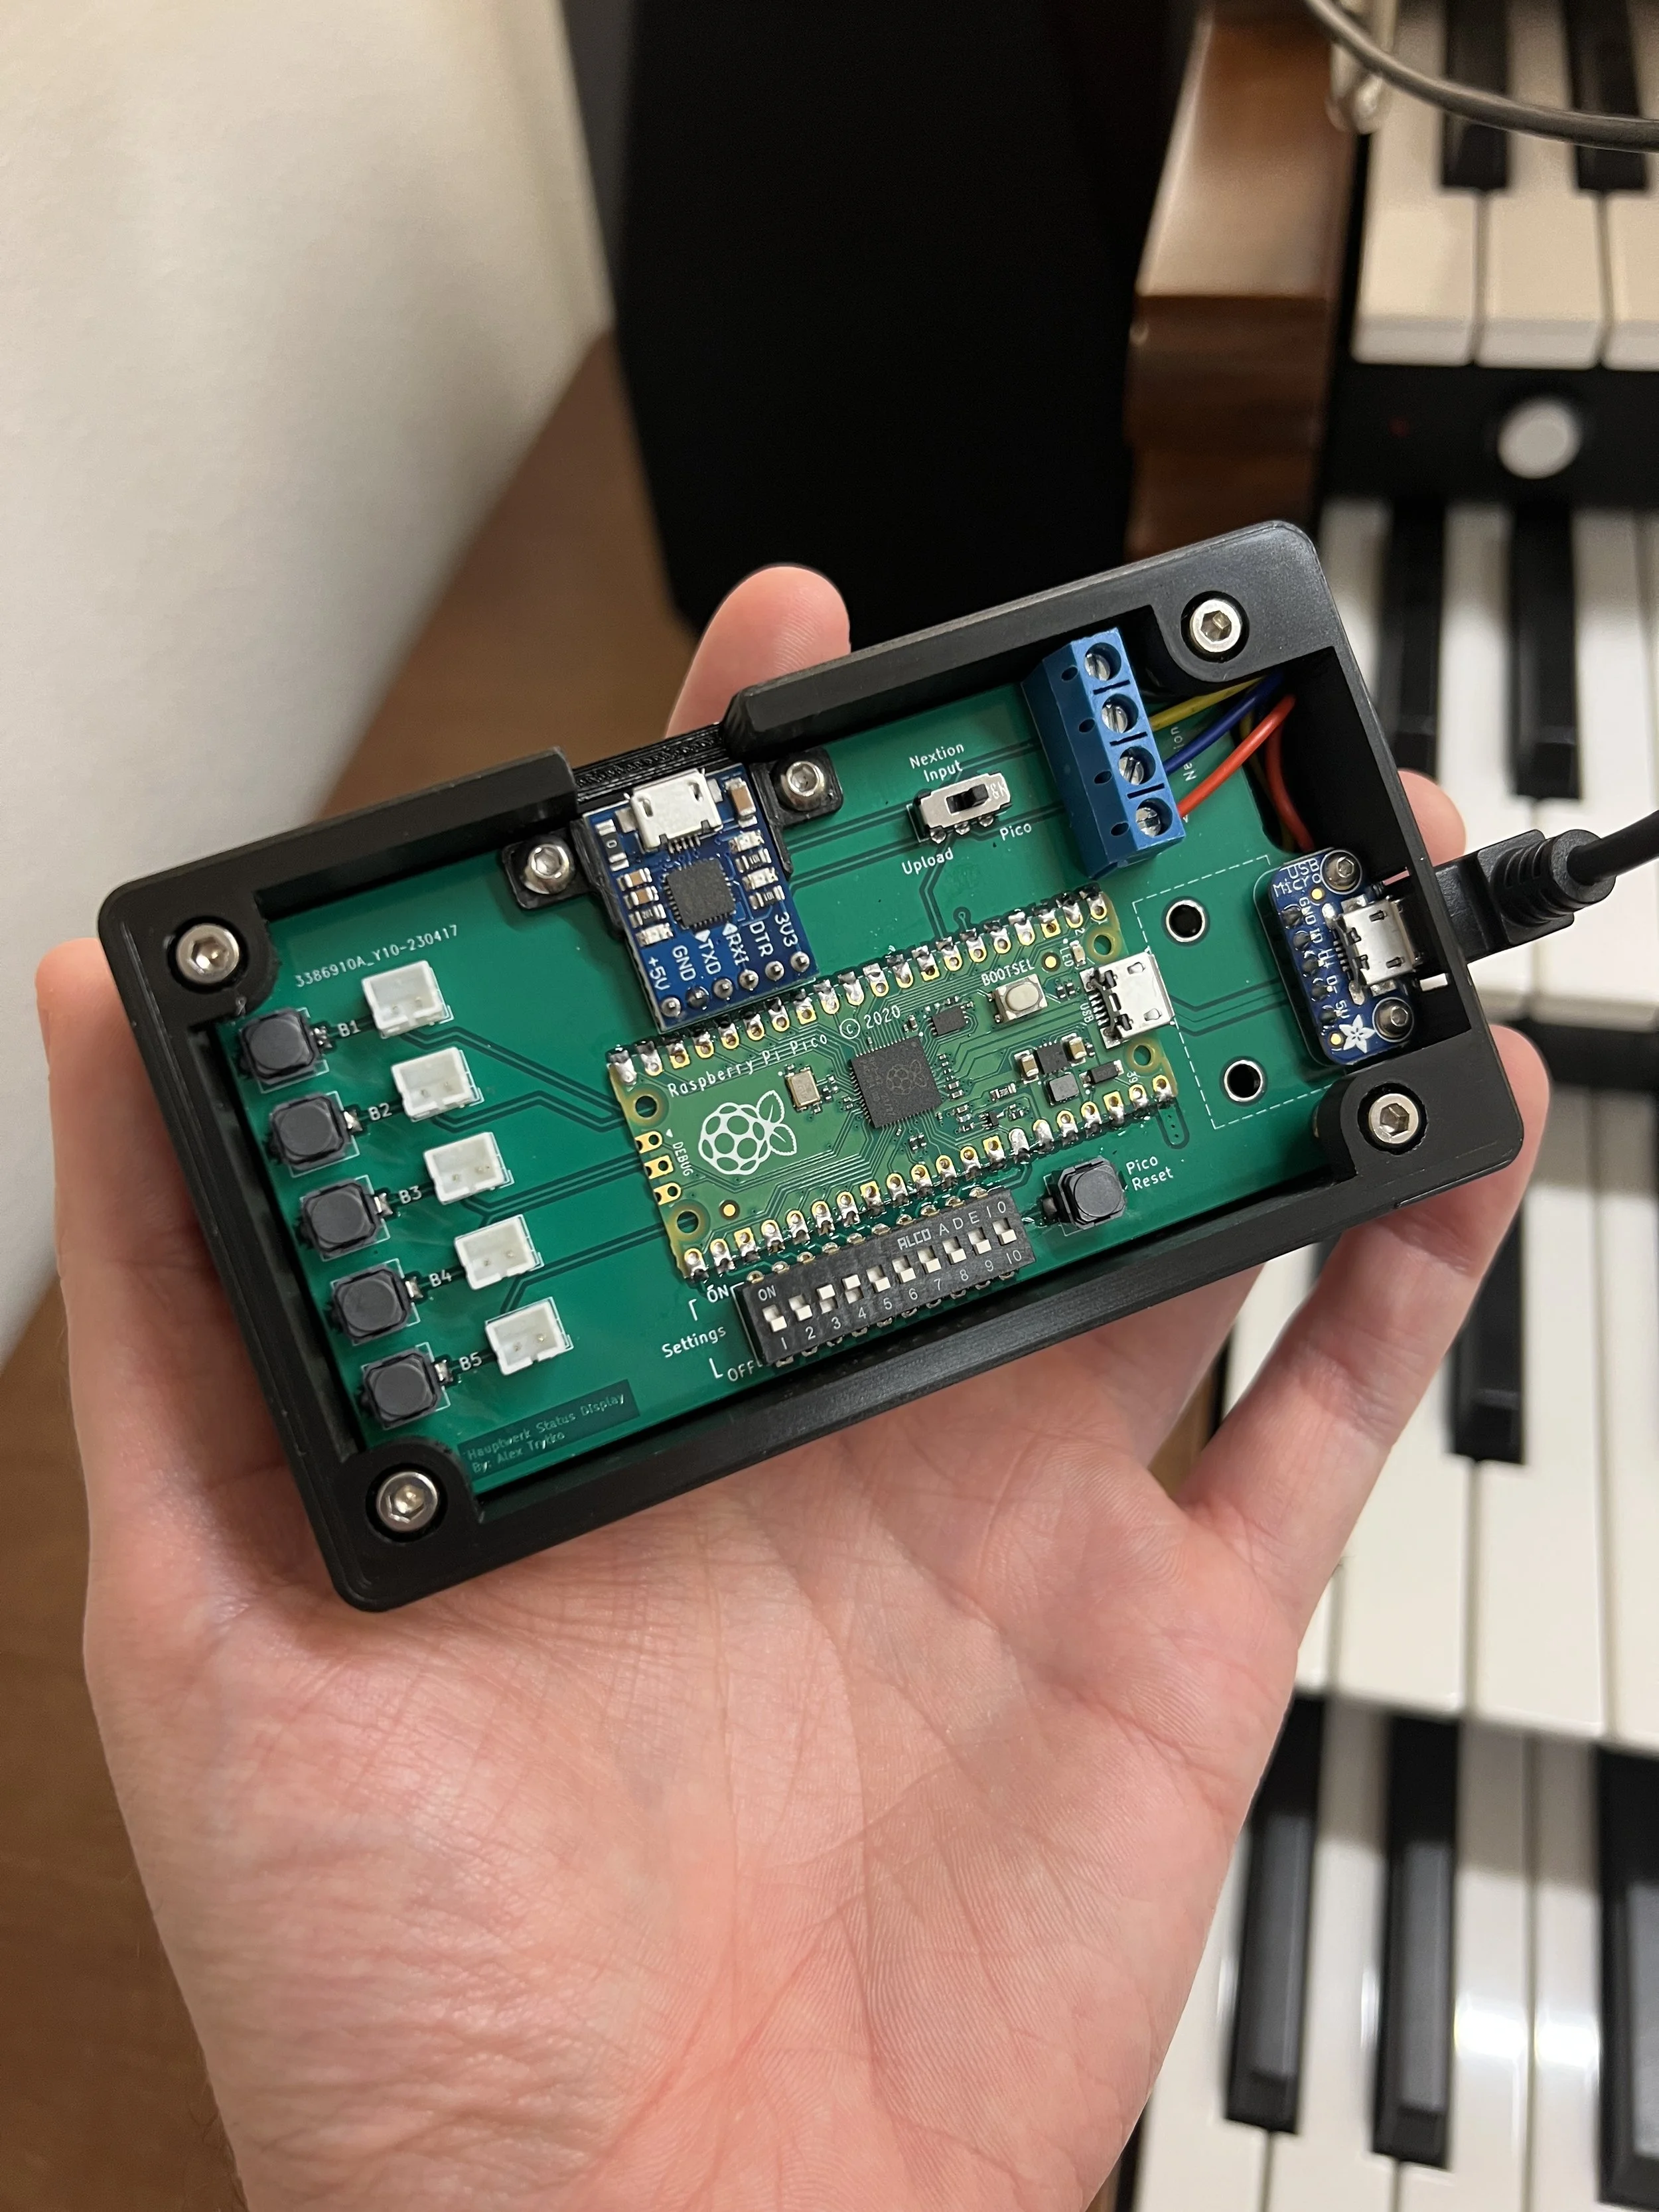
I designed my own PCB for this project, and had it custom printed. This allowed me to neatly mount my buttons and switches, to support running the entire unit with a single USB connector, and to support easy updates to the Nextion screen without having to disassemble the entire enclosure.
PCB design was done using KiCad — a great, cross-platform, open-source electronics design automation suite. From schematic capture, symbols, footprints, and final PCB layout, it allows me to do everything I need when designing circuit boards.
Enclosure
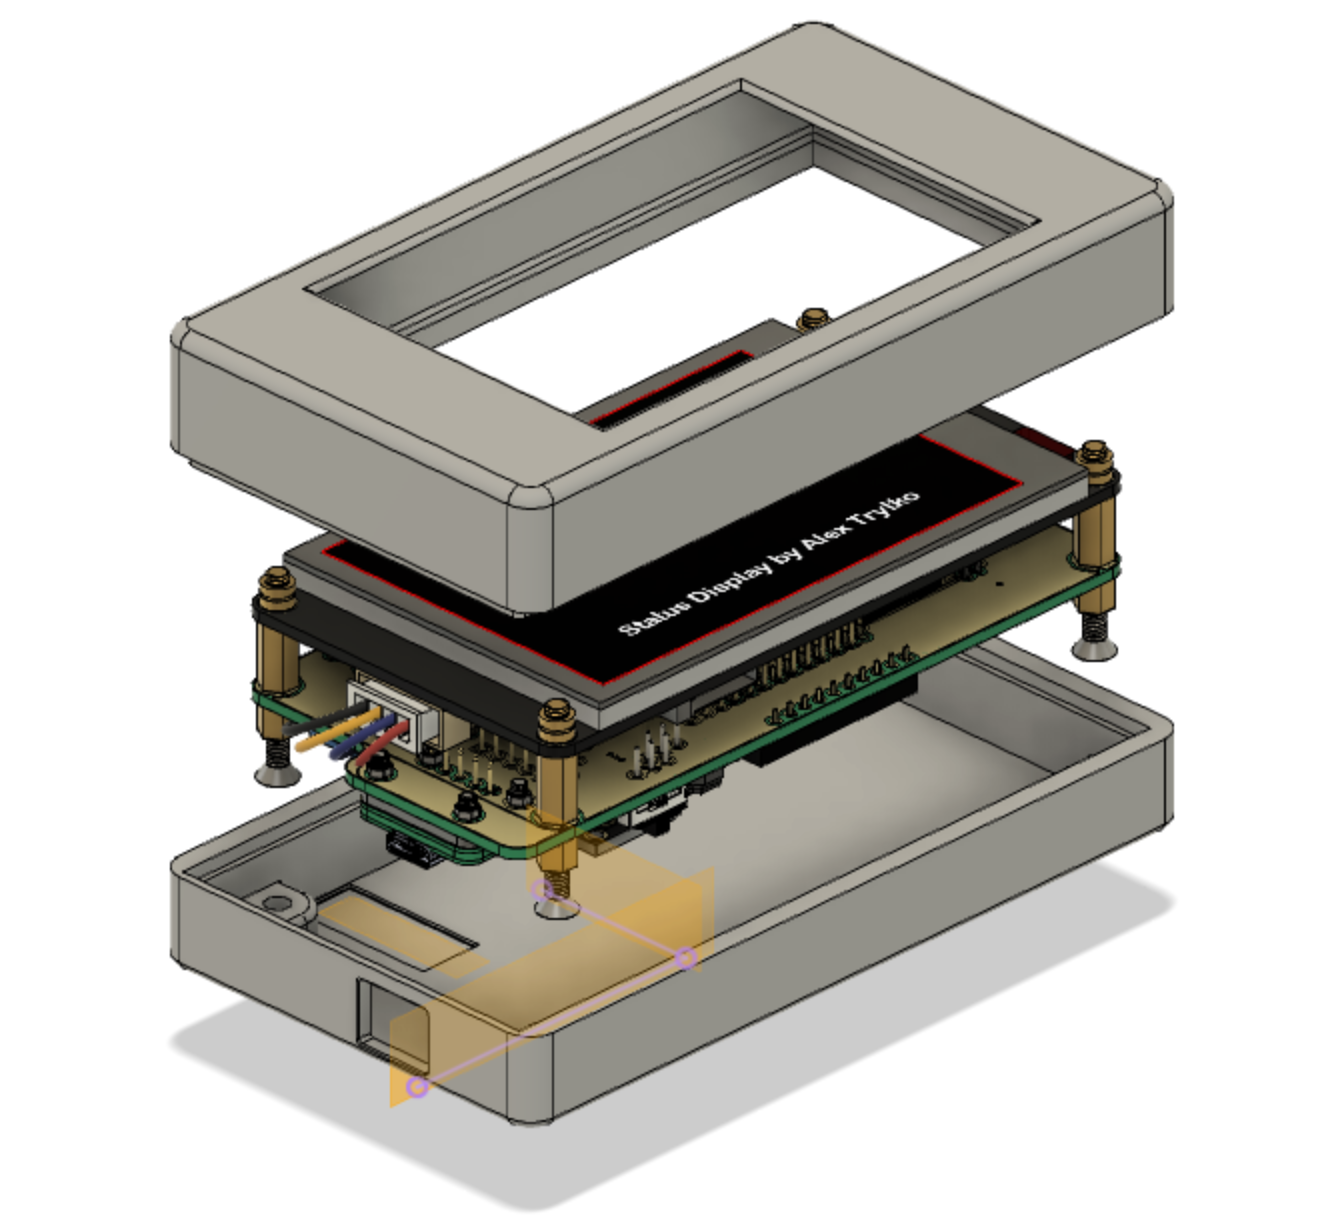
I designed the enclosure in Autodesk Fusion 360. Years ago, my brother (a mechanical engineer) helped me design a custom light mount and print it on his 3D printer, and shortly after, I knew that I needed to get into 3D printing and design. I love the flexibility of designing 3D models that accomplish exactly what I need, and the ability to create and print them all at home.
The Nextion screen I used defined my main dimensions (and I wanted to center the screen within the front panel, even though the screen itself is not symmetrical on its own board). My PCB was designed with these dimensions in mind. Everything fits very nicely and allows space for the wired connection for serial communication between my Pi Pico and the Nextion screen.


